


Adobe's Generative Fill is convenient until you consider the real costs of a monthly subscription, a credit system that runs out at the worst times, and a cloud pipeline that compresses your artwork before a remote server even sees it. If you've hit that ceiling and started wondering whether you could get the same results without the ongoing bill or the restrictions, you know it feels unfair. Krita is open source and, when paired with the AI Diffusion plugin, runs the same underlying machine learning on your own GPU, processes your pixels without compressing them, and doesn't care what you're generating or how many times you iterate.
How to set up Krita and the local AI diffusion plugin
Getting away from Adobe's cloud only takes a bit of times

Adobe has a pricey subscription wall that keeps rising, with the only justification being AI tools like Generative Fill. The good news is there's a completely free alternative called Krita that is arguably more powerful. On its own, Krita doesn't do AI, but you can add the Krita AI Diffusion plugin, and it will, plus it's free.
This tool connects Krita to an AI engine running right on your machine. Nothing goes to the cloud, nothing gets compressed by a remote server, and nobody's content policy is standing between you and your canvas. Just make sure you have a GPU strong enough to run it; any that support 6GB should be good.
Before anything else, make sure you've installed Krita 5.2.0 or newer (not the mobile version). Then head to the plugin developer's GitHub page and download the official release through the compiled ZIP file, not the raw source code. Once you have the right file, open Krita.
If you want to add the AI, go to Tools -> Scripts, then select Import Python Plugin from File, point it to your ZIP, and confirm. Restart Krita, then go to Settings -> Dockers and enable AI Image Generation. The panel will appear in your workspace, and you're ready for the next step.
That panel is just the front end. The actual AI work is handled by a local ComfyUI backend, and the plugin gives you two ways to set it up. If you just want it to work with minimal fuss, pick Managed Server. The plugin will automatically download and configure a portable version of ComfyUI for you. If you already have ComfyUI running locally, choose "Custom Server" and point the plugin at whatever port it's running on. Either way, everything runs on your own GPU, so there's no network lag, no image quality loss from web compression, and no usage credits to worry about.
I rent a GPU, which can be used here, as you see in the picture.
You also get to choose your own models. Instead of being stuck with whatever Adobe Firefly gives you, you can download and run any open-source model that works for your project. So you can pick Stable Diffusion XL for high-resolution detail, Flux 1 or Flux 2 if you need better text rendering and more anatomically consistent results, or something like Z-Image if photorealism is the goal.
These are multi-gigabyte files that load directly into your GPU's memory, and the plugin has a built-in download manager to handle them.
Local pixel processing is better than Internet processing
Lossless data transfer is what separates local from the cloud


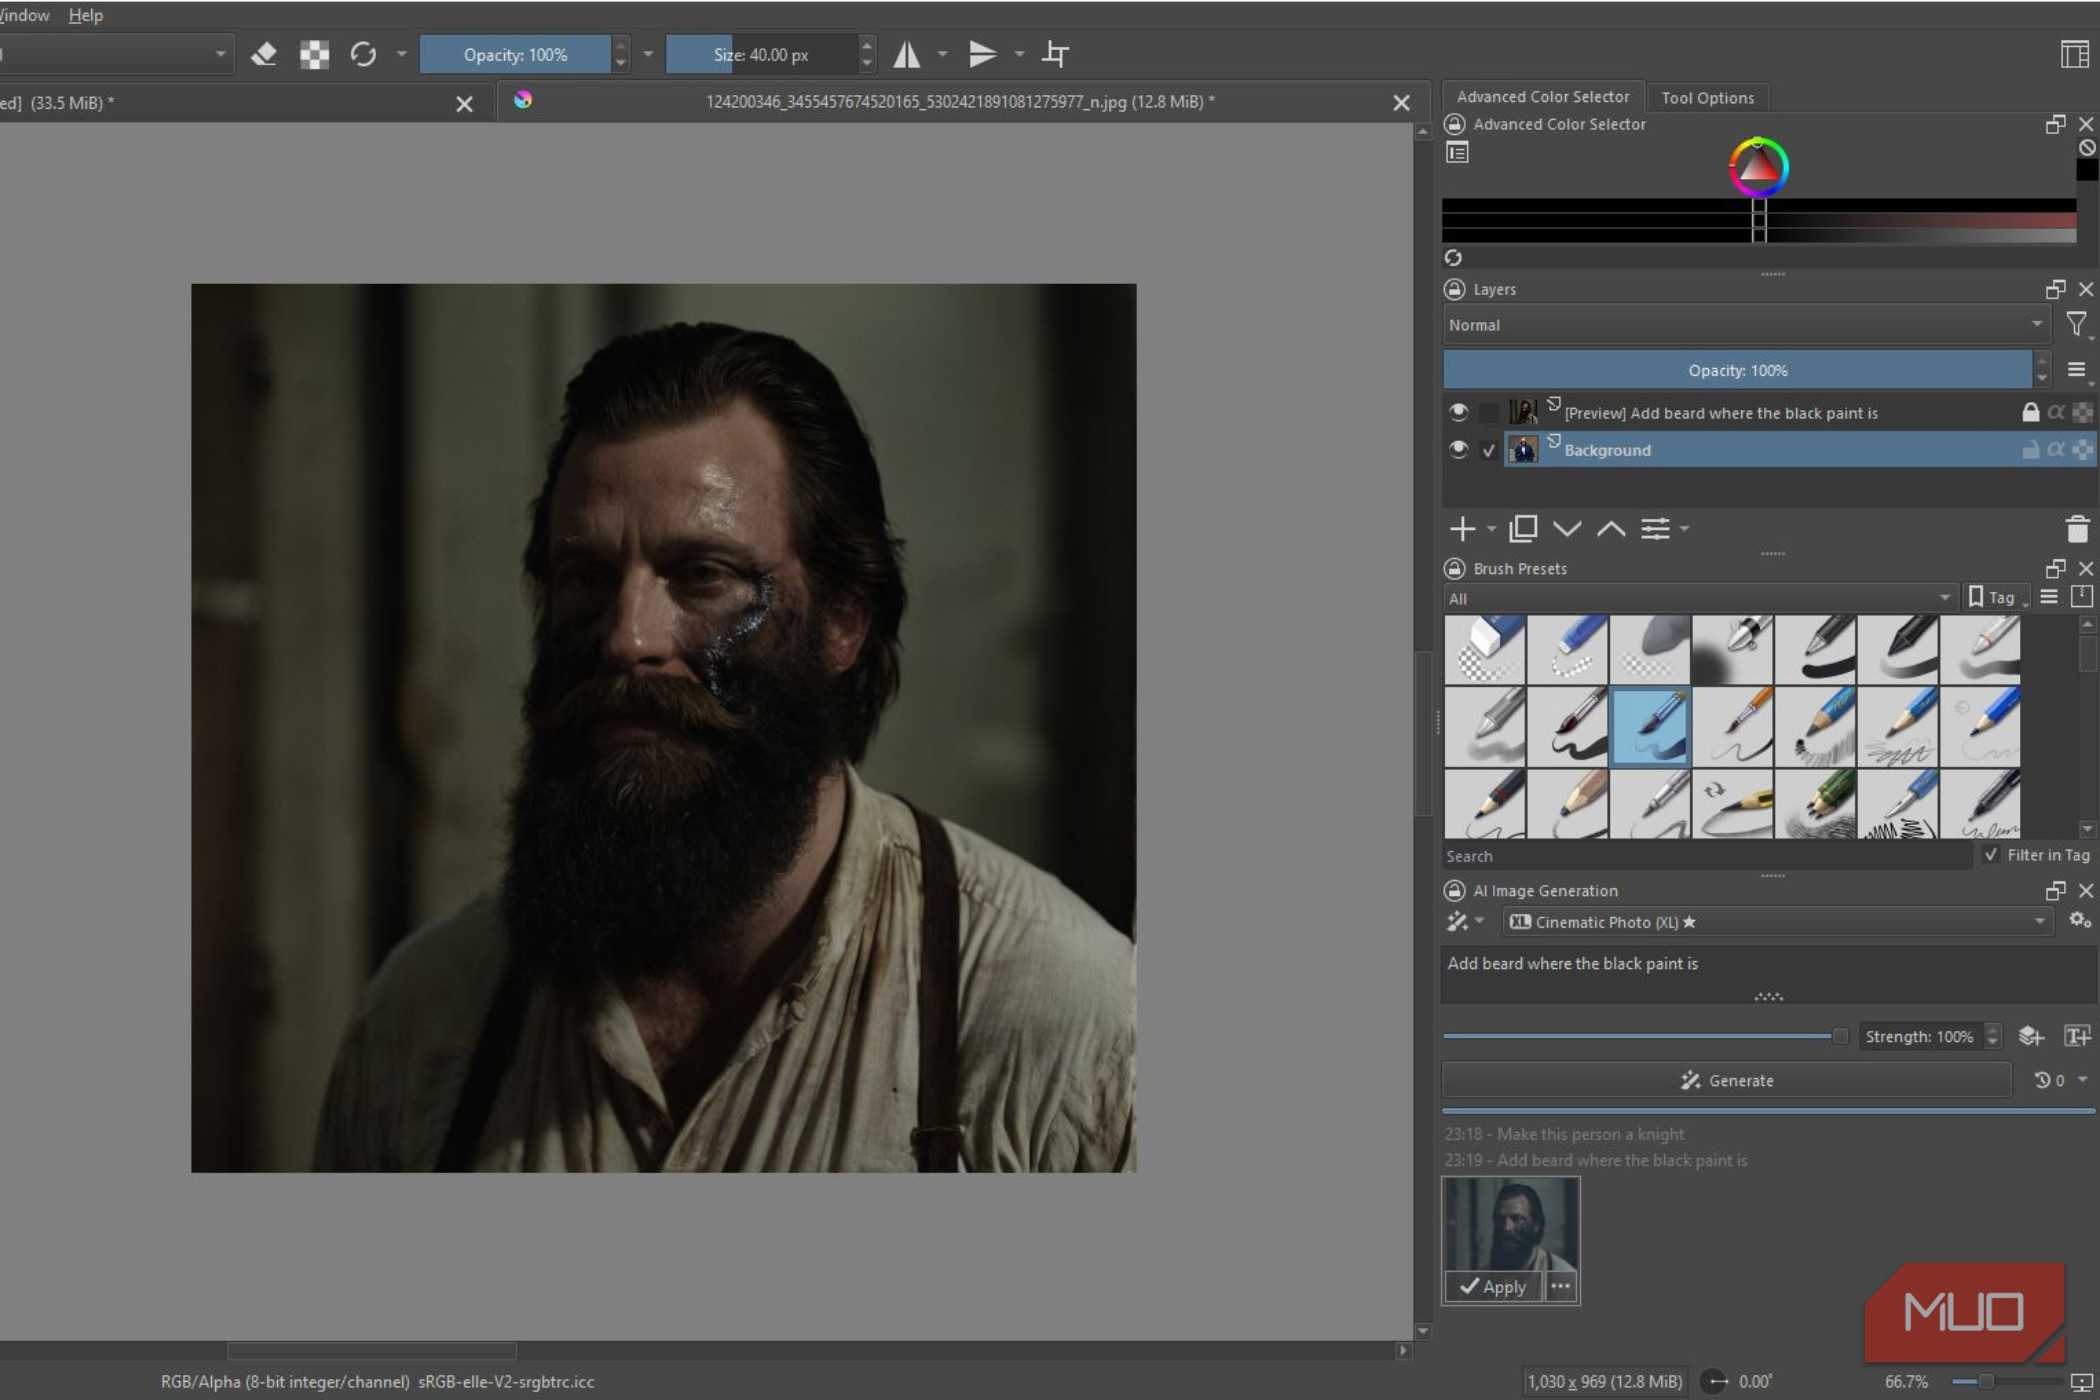
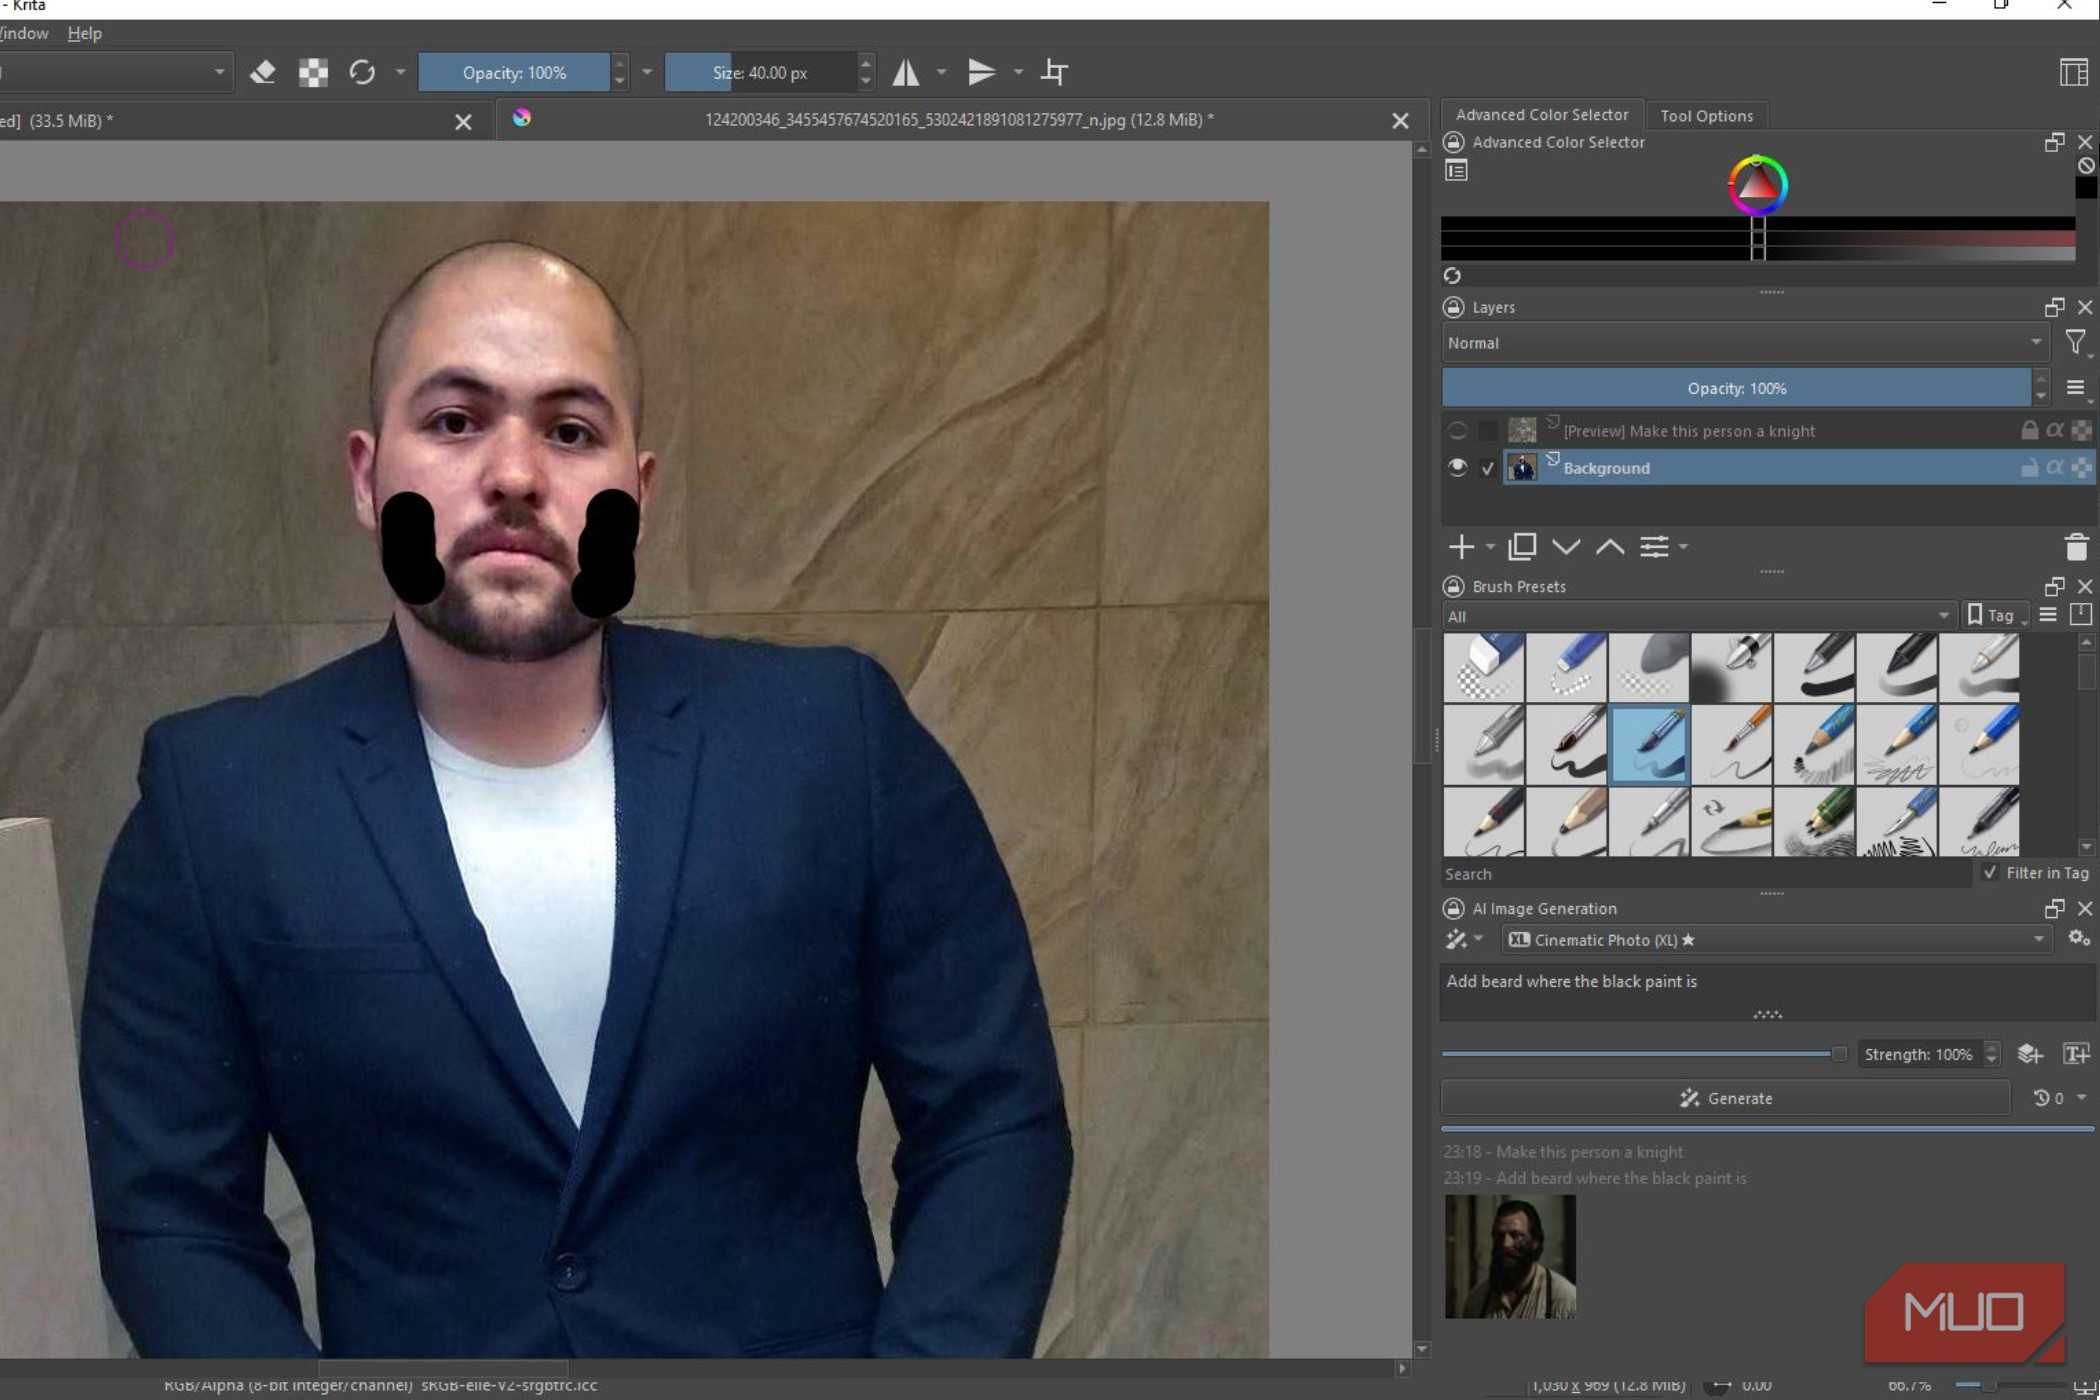
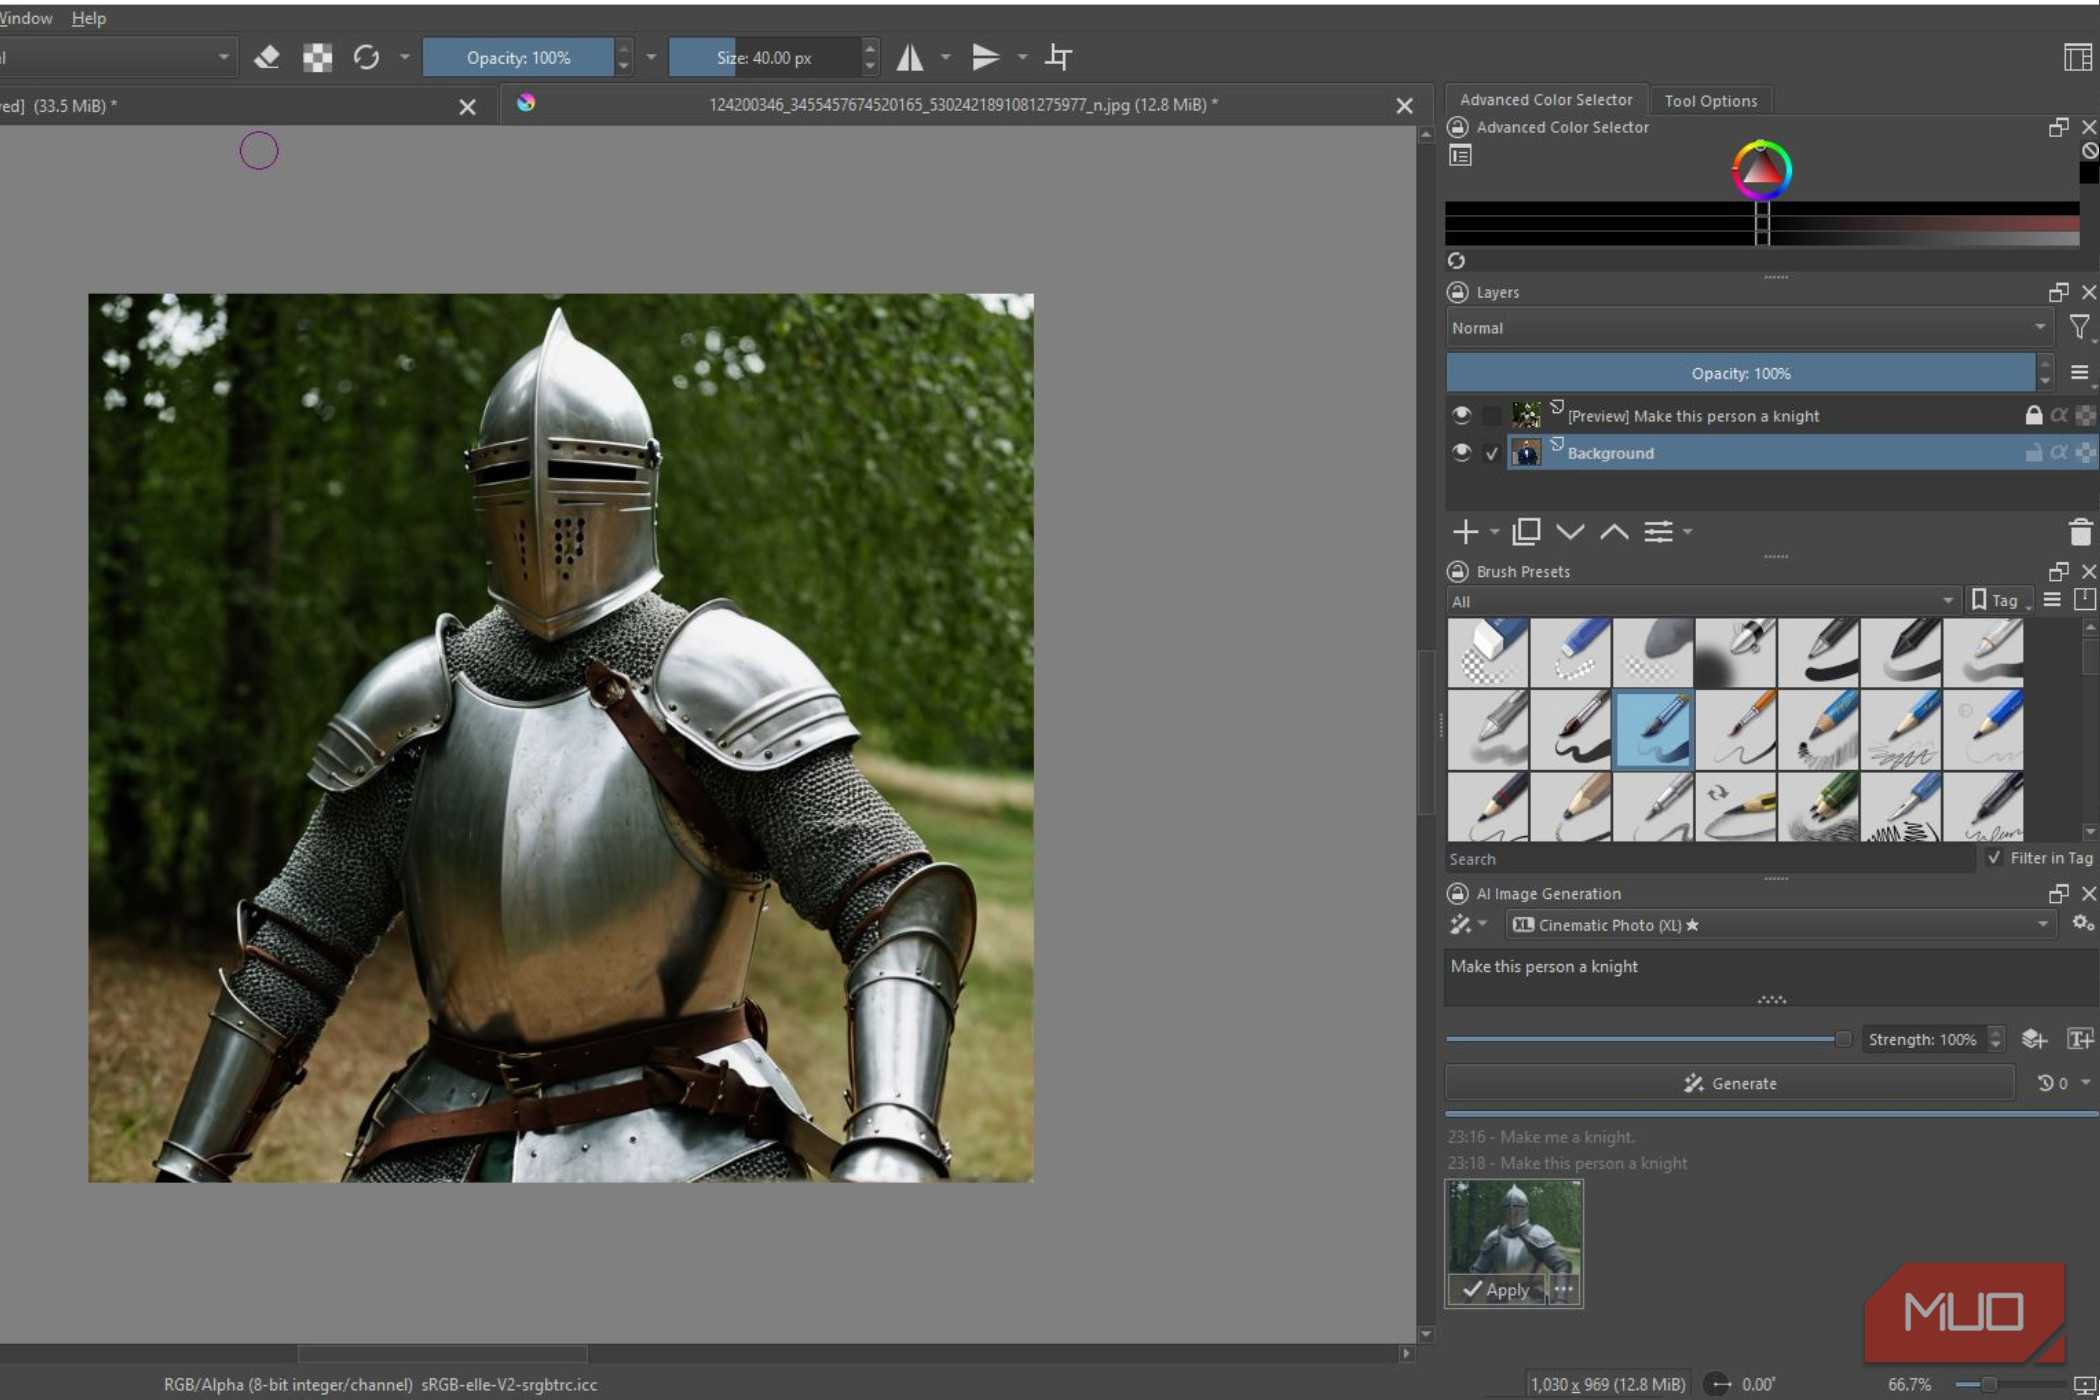
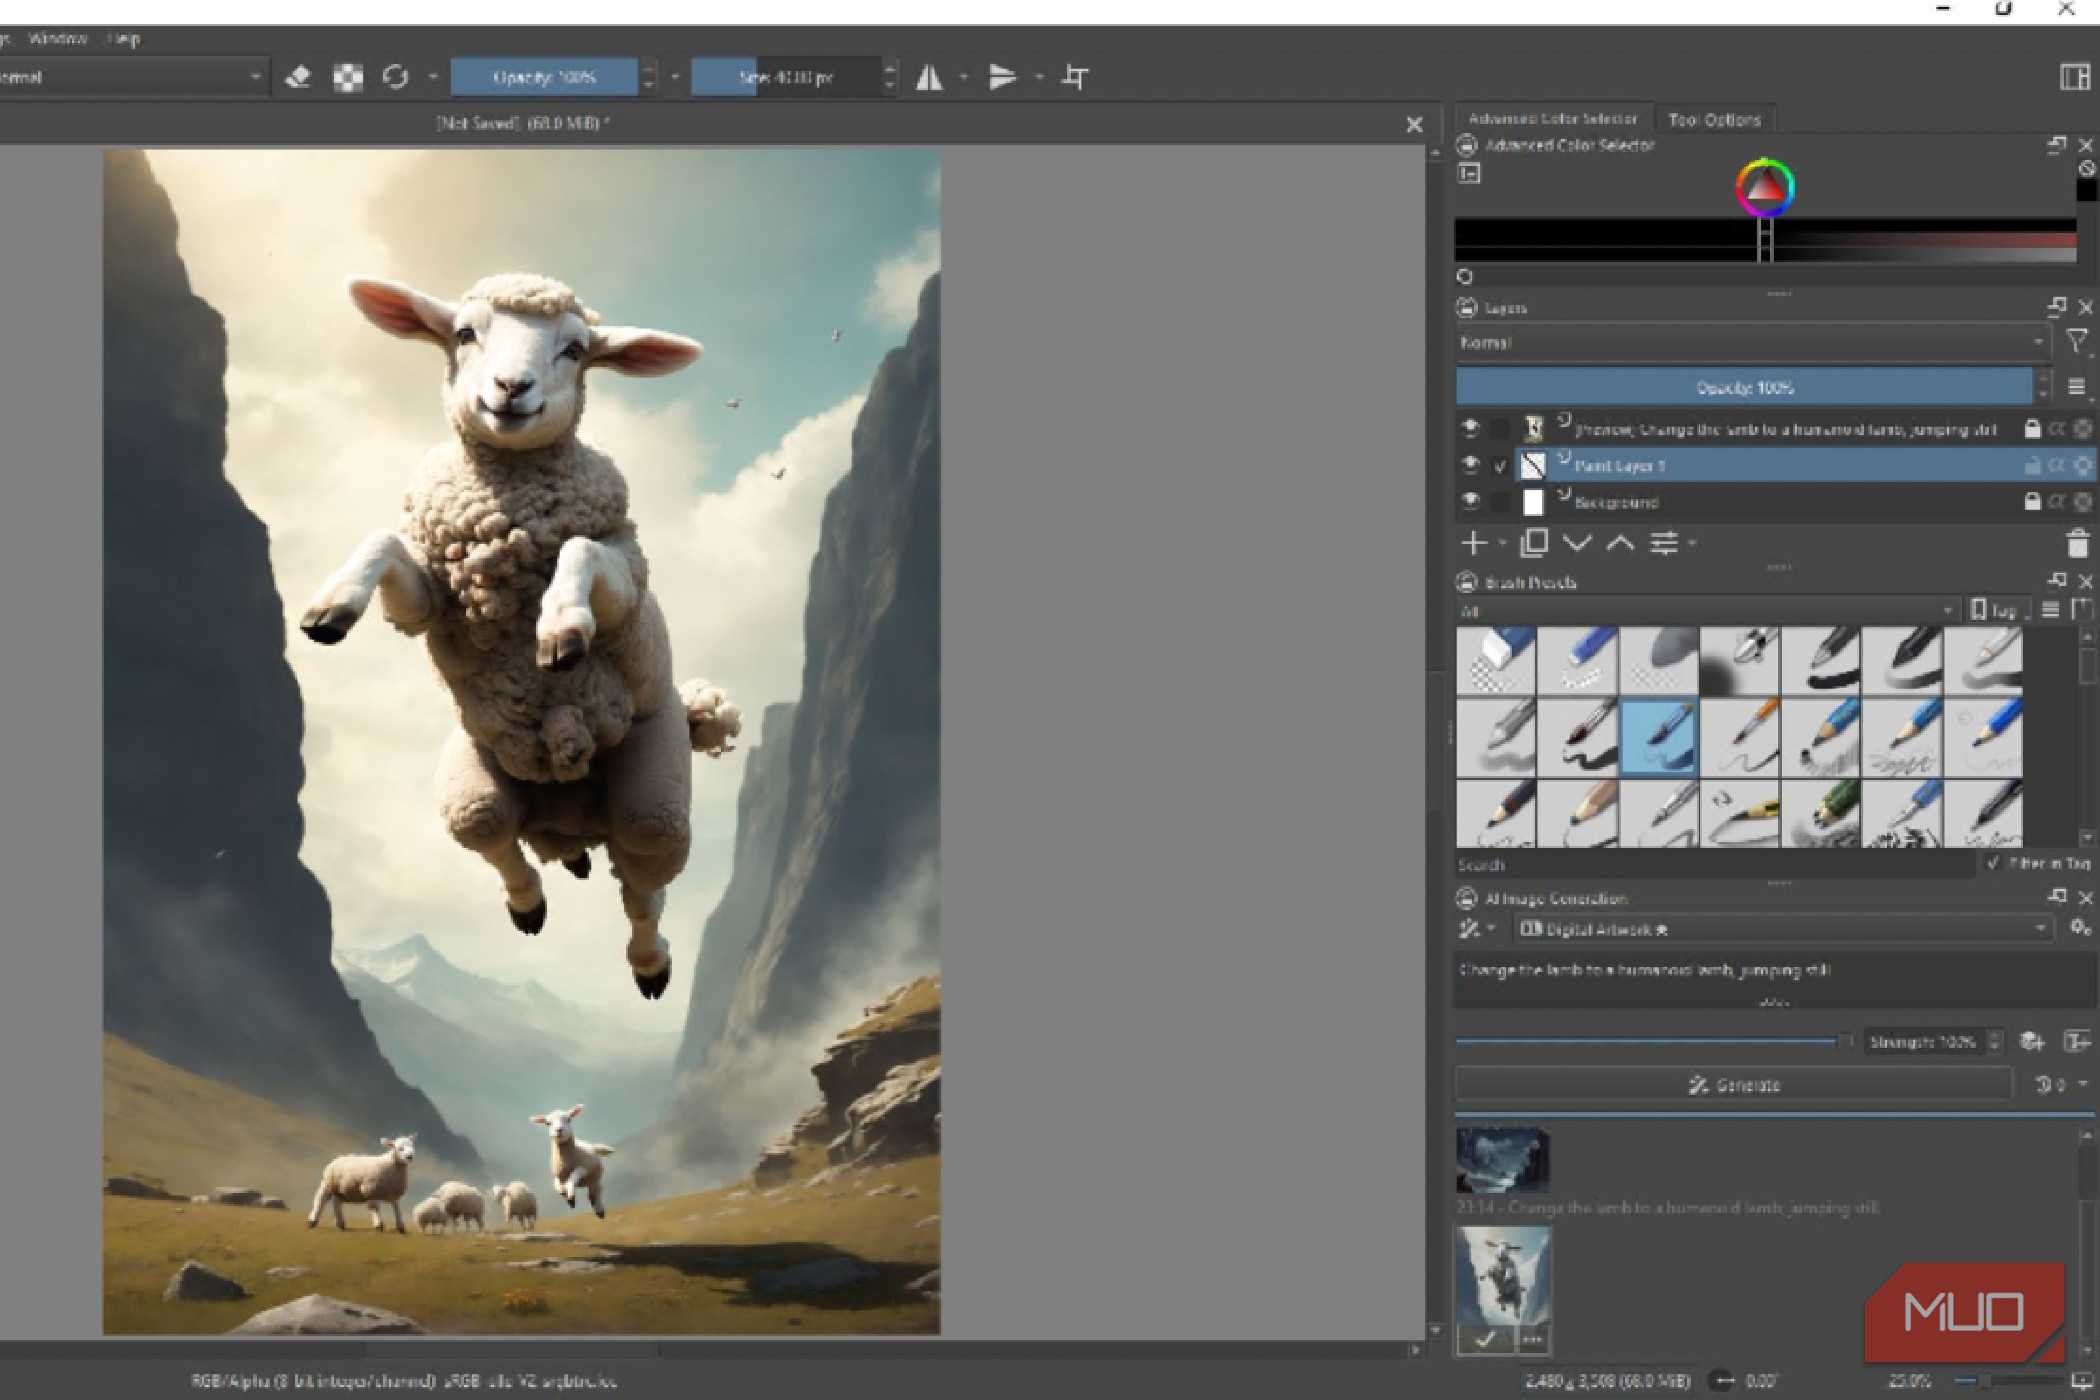
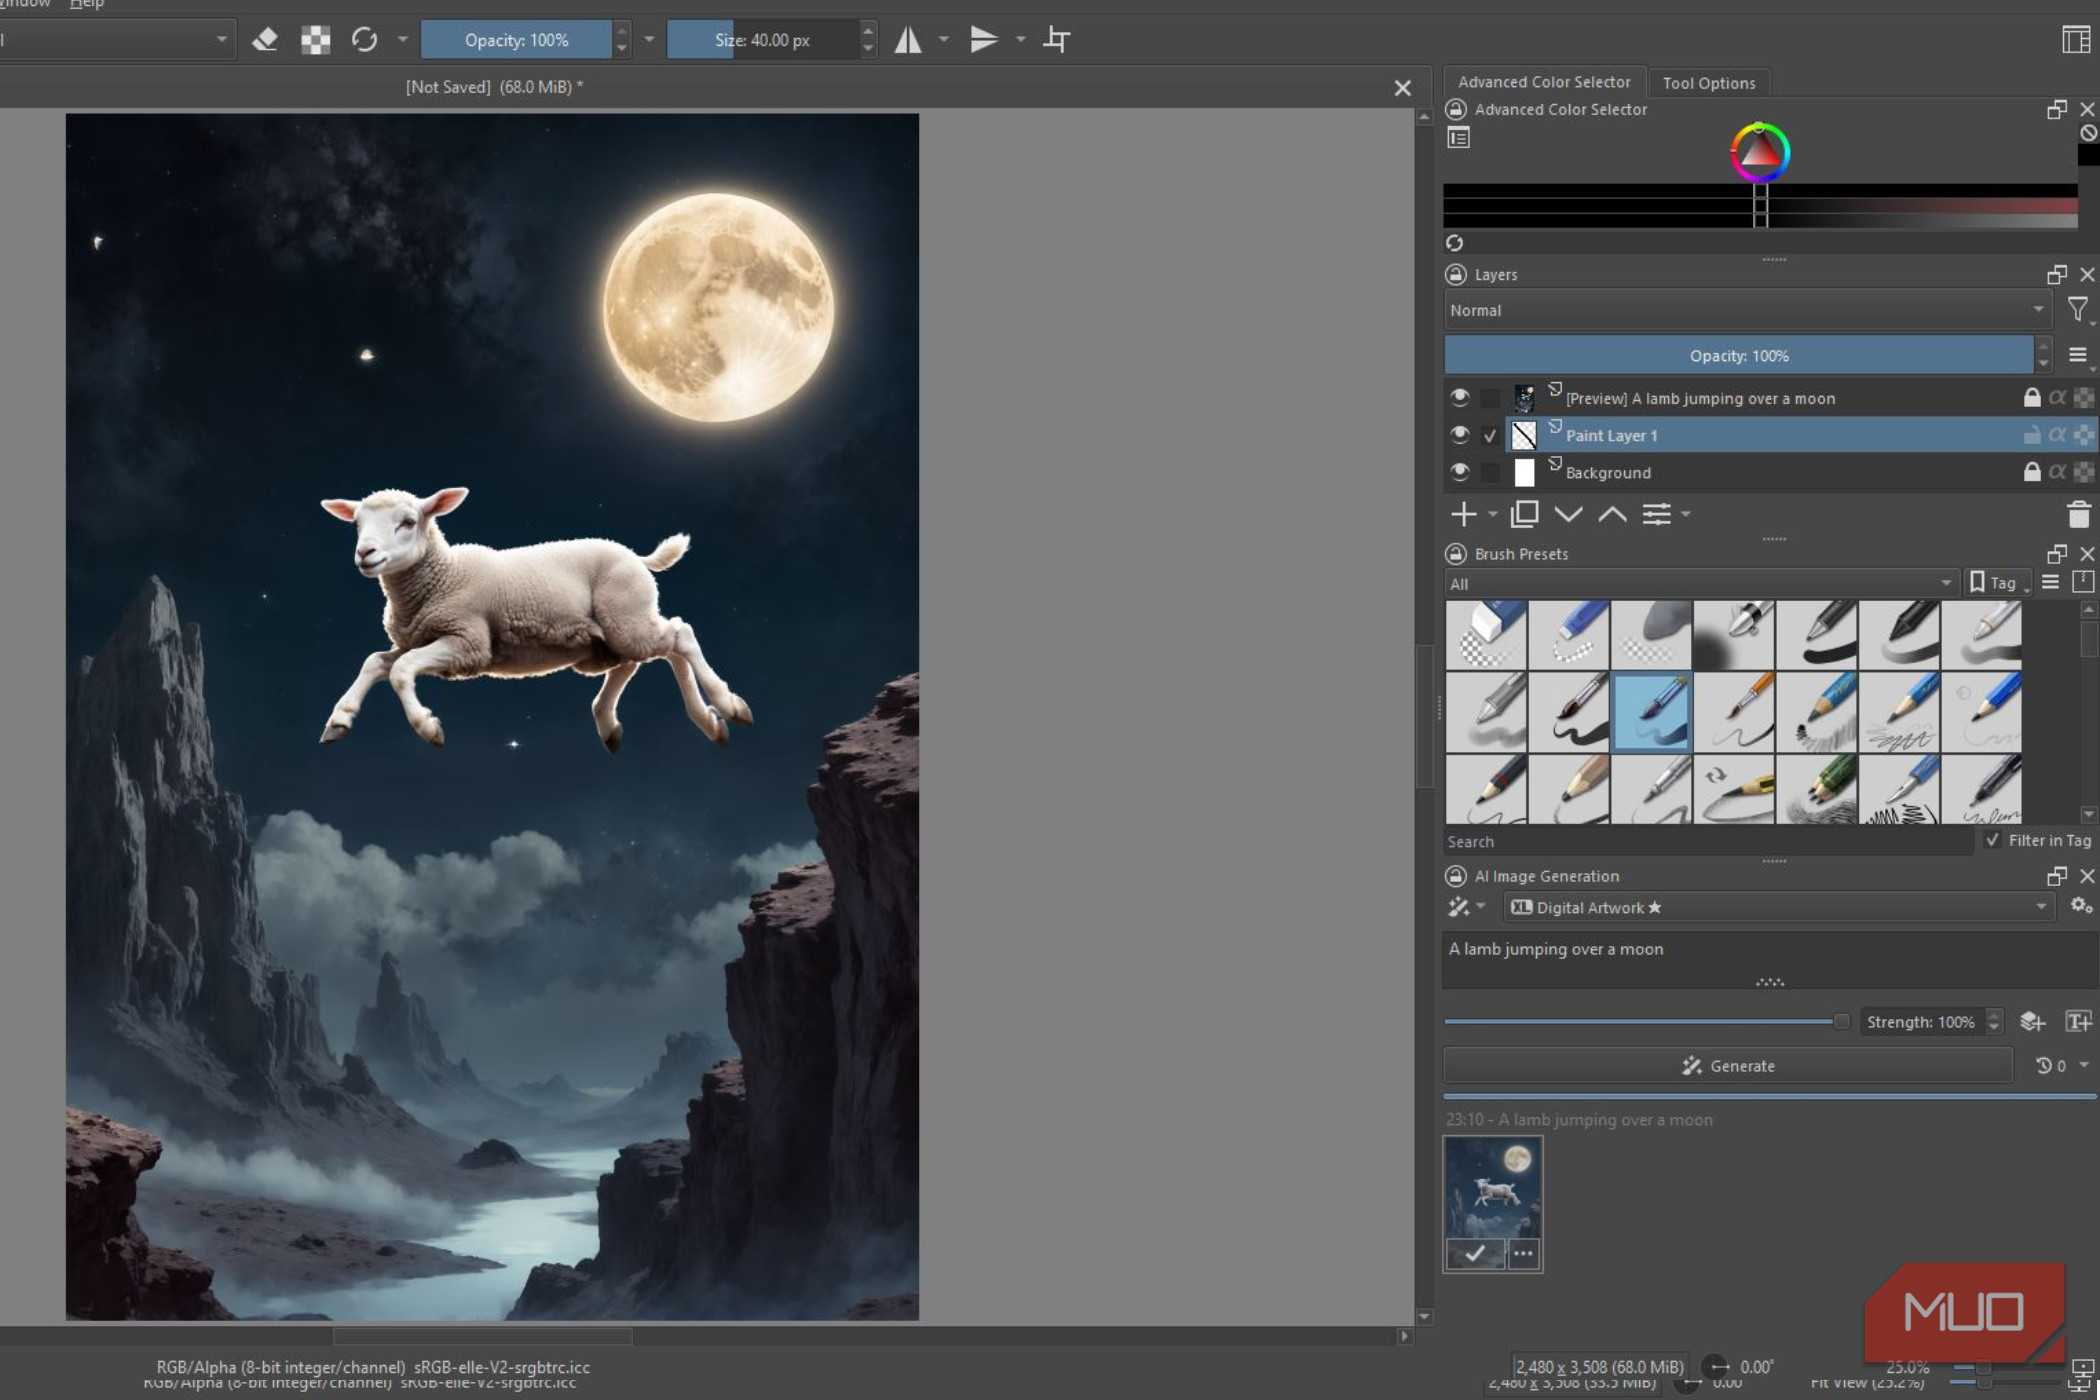
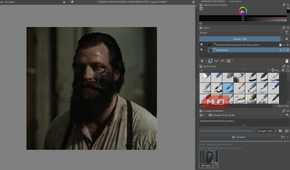
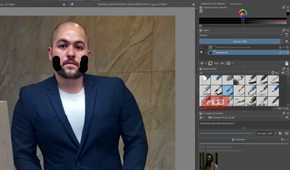
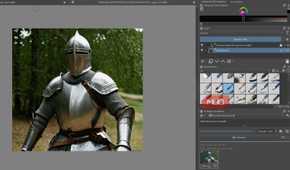
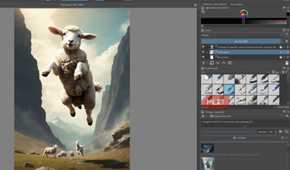
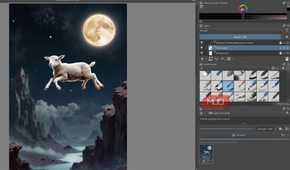
Krita gives you surprisingly clean AI results because it avoids the bottlenecks that slow down cloud-based tools. Cloud platforms typically compress images into JPEG or WebP format to move them quickly over the internet, and when you're working with large, high-resolution canvases, those platforms usually need to downscale or chop your image into patches just to meet bandwidth limits.
That process makes it blocky and can add color bleed and mushy edges. Since everything runs locally, Krita doesn't have those problems. Pixels travel directly from your canvas into your GPU's memory over a raw binary connection: no network, no temp files, no compression. What the AI actually receives is an exact copy of what is in front of you.
That is what makes the Denoising Strength slider so powerful. It controls how aggressively the AI rewrites your selected area. The AI works by layering noise over your selection and then gradually removing it, which forces the model to build new detail instead of just copying what was there.
This means you can change something like a plain shirt into a woven fabric without altering the original folds, shadows, or volume. It's like Nano Banana, if you've ever used that. The sweet spot is between 0.3 and 0.6. That is low enough that the AI follows your structure, but high enough that the result actually looks generated instead of patchy. Go too low, and your brushwork shows through unblended; go too high, and the model starts ignoring your sketch.
I hate generative AI for empty space because adding an object is always a coin toss. You pick an empty area, hit generate, and hope the result lands somewhere close to what you had in mind. I've had so many issues with that on things like Pixlr. When it is not guided the way Krita guides it, it feels like the AI does not care whether it gets this right or not.
Photoshop is convenient, but not unbeatable
Krita can handle everything for you
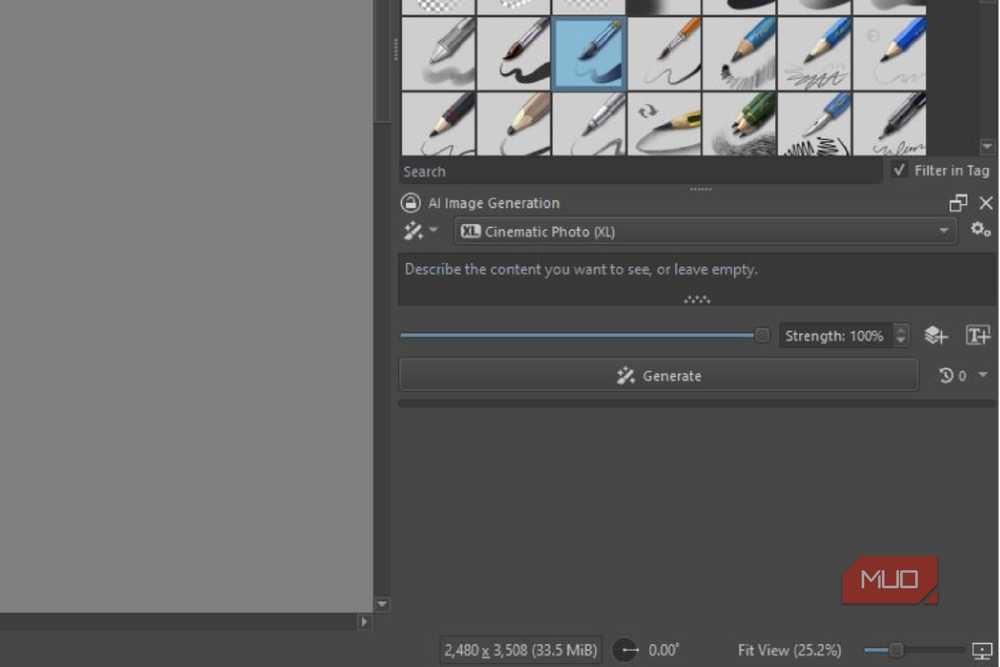
So the reason AI tends to be better on Photoshop is that it's simple to use. Getting Stable Diffusion running used to mean wrestling with Python environments, hunting down multi-gigabyte model files, and Googling errors. The Krita AI Diffusion plugin takes that away as an issue.
The Managed Server option handles the whole backend installation for you. It downloads, installs, and sets up a portable version of ComfyUI without you touching a single config file. It also pulls in all the supporting extensions automatically: ControlNet preprocessors, IP-Adapter nodes, inpainting nodes, the works. There's even a built-in script that grabs the required models and drops them exactly where they need to go, so you never have to manually move files around your system.
The local setup is worth it. Cloud tools like Adobe Firefly lock you into a credit system, make you wait in server queues, and send your artwork back and forth over the internet, which ruins the quality. Running locally in Krita gives you a better image because your computer does the work. You can also generate, tweak, and iterate as much as you want, with no credits ticking down and no quality being quietly shaved off each time.
You still need a good GPU
The real limitation here is hardware. If your GPU is older or has less than 4GB of VRAM, you're not running Flux or SDXL at full speed. Keep that in mind before you invest time in the setup. That said, if your machine can handle it, this setup pays for itself fast. No subscription, no credits, no compression artifacts from a server handoff.

Krita
- OS
- Windows, macOS, Linux
- Developer
- Krita Foundation
Krita is a free, open-source digital painting and illustration software designed for artists, illustrators, and concept designers. It offers a powerful brush engine, layer management, and animation tools, making it ideal for creating detailed artwork and storyboards.